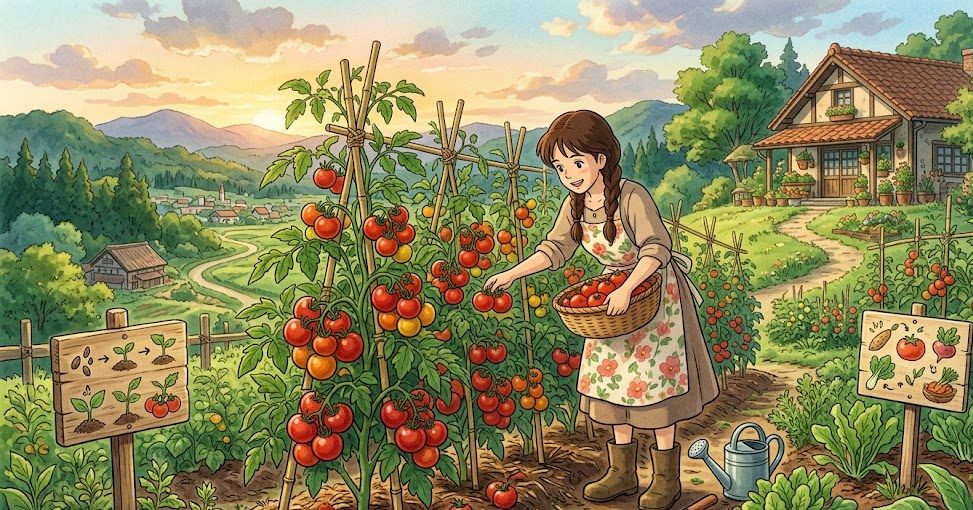
There is a profound difference between a store-bought tomato and one plucked fresh from your own garden. A homegrown tomato is warm from the sun, incredibly fragrant, and bursting with a rich, complex flavor that commercial varieties simply cannot match. It is no surprise that tomatoes are the absolute favorite crop for home gardeners and small-scale homesteaders worldwide.
However, while tomatoes are eager growers, coaxing them to produce a massive, high-yield harvest requires more than just throwing a seedling into the dirt and hoping for the best. They are heavy feeders, require specific structural support, and are prone to a handful of frustrating pests and diseases if left neglected.
Whether you want to grow massive beefsteaks for slicing, classic Roma tomatoes for rich sauces, or sweet cherry tomatoes for healthy snacking, this comprehensive, step-by-step guide will walk you through the entire process of cultivating a highly successful, high-yield tomato crop from scratch.
Phase 1: Choosing the Right Tomato Variety
Before you buy seeds or soil, you need to understand that not all tomatoes grow the same way. Choosing the right variety depends heavily on your available space, your climate, and how you plan to use your harvest.
1. Determinate vs. Indeterminate: The Crucial Difference
This is the single most important distinction every grower must know:
- Determinate (Bush) Tomatoes: These varieties grow to a fixed height (usually 3 to 4 feet), bloom, set all their fruit at once, and then stop producing. They are excellent for small spaces, container gardening, or if you want to harvest a massive batch of tomatoes all at once to make sauces or preserves. Examples include Roma and Celebrity.
- Indeterminate (Vining) Tomatoes: These plants keep growing, blooming, and producing fruit continuously until the first winter frost kills the plant. They require sturdy staking or trellising because they can easily reach heights of 6 to 10 feet. If you want a steady supply of fresh tomatoes all season long, choose indeterminate varieties. Examples include Cherokee Purple, Brandywine, and most Cherry tomatoes.
2. Heirloom vs. Hybrid
- Heirlooms: Open-pollinated varieties passed down through generations. They are famous for exceptional, complex flavors and unique colors, though they can sometimes be more sensitive to diseases.
- Hybrids: Bred intentionally by crossing two parent plants to create a new variety with strong disease resistance, uniform fruit shape, and massive yields. They are highly reliable for beginners.
Phase 2: Starting Seeds and Preparing the Soil
A high-yield harvest begins with a strong root system and nutrient-dense soil. Skipping proper soil preparation is the most common reason tomato plants fail to live up to their potential.
1. Starting Seeds Indoors
Tomatoes love warmth. If you live in an area with distinct seasons, start your seeds indoors 6 to 8 weeks before your local last frost date.
Use a clean seed-starting mix in small trays. Plant the seeds about a quarter-inch deep, keep the soil damp but not soggy, and place the tray in a warm spot (ideally around 21°C to 26°C). Once the green sprouts emerge, provide them with plenty of bright light—either from a sunny, south-facing window or a dedicated LED grow light placed just a few inches above the seedlings.
2. Preparing the Perfect Soil Blend
Tomatoes are incredibly hungry plants. They require loose, well-draining soil rich in organic matter. If your soil is heavy clay or pure sand, your yields will suffer.
Prepare your garden beds or large containers by mixing in:
- Compost or Aged Manure: Provides a steady, slow-release stream of essential nutrients.
- Coco Coir or Peat Moss: Helps the soil retain the perfect amount of moisture without becoming waterlogged.
- Perlite: Enhances drainage and keeps the soil structure loose and airy for root expansion.
Pro Tip: Tomatoes thrive in slightly acidic to neutral soil, with an ideal pH range between 6.2 and 6.8. Adding a handful of bone meal to the planting hole provides phosphorus and calcium, which are critical for preventing fruit rot later on.
Phase 3: The Secret to Planting Tomatoes
When your seedlings are about 6 to 8 inches tall and have developed a few sets of true leaves, they are ready to go outside. But wait—do not plant them the way you plant standard vegetables. Tomatoes have a gardening superpower: they can grow roots all along their stems.
1. The Deep Planting Method
When transplanting your tomato seedling into the ground or a large container, gently pinch off the lowest sets of leaves, leaving only the top cluster of leaves intact.
Dig a deep hole and bury the seedling up to that top cluster of leaves.
   [ Top Leaves ]  <-- Keep above ground
        |
   ============    <-- Ground Level
        |
     [Stem]        <-- Buried stem transforms
        |              into a massive root system!
    / / | \ \
By burying the stem, the plant will sprout a massive, deep network of roots from the underground portion. A larger root system means the plant can absorb far more water and nutrients, directly resulting in a sturdier plant and a significantly higher yield.
2. Proper Spacing
Give your plants room to breathe! Crowding tomato plants restricts airflow, which invites fungal diseases. Space your plants at least 24 to 36 inches apart.
Phase 4: Essential Care for Maximum Yields
Now that your tomatoes are securely in the ground, your daily and weekly maintenance routines will determine how many flowers successfully turn into juicy fruit.
1. Mastering the Watering Routine
Consistent watering is the ultimate secret to beautiful tomatoes. Inconsistent watering—letting the soil completely dry out and then completely flooding it—causes structural stress. This stress leads to cracked fruits and a devastating condition called Blossom End Rot, where the bottom of the tomato turns black and leathery due to poor calcium absorption.
- Water deeply and less frequently: Aim for 1 to 1.5 inches of water per week, watering thoroughly 2 to 3 times a week rather than giving them light daily sprinkles.
- Water at the base: Always apply water directly to the soil at the base of the plant. Never wet the leaves, as wet foliage is an open invitation for blight and fungal infections.
- Mulch heavily: Lay down a 2-inch layer of straw, shredded leaves, or wood chips around the base of the plant. Mulch keeps the soil cool, conserves moisture, and prevents soil-borne diseases from splashing up onto the lower leaves during rain.
2. Supporting Your Plants Early
Do not wait for your plants to start falling over before you support them. Install your cages, stakes, or heavy-duty trellises immediately at planting time. For heavy indeterminate vining varieties, a sturdy wooden or metal T-post stake configuration works much better than flimsy store-bought wire cages.
Phase 5: Pruning and Fertilizing for Explosive Growth
To get the highest possible yield, you must manage how your tomato plant spends its energy. If left completely unpruned, an indeterminate tomato plant will spend all its fuel growing massive amounts of green leaves rather than growing fruit.
1. How to Prune Tomato “Suckers”
Look at your tomato plant where a main branch meets the central vertical stem. In that V-shaped intersection, you will notice a tiny new branch starting to grow. This is called a sucker.
    \       /
     \ Stem/
      \   /
       | / <-- [Sucker] Pinch this out!
       |/
       |
       | Central Trunk
If you leave suckers alone, they turn into entirely new main stems, creating a dense, tangled jungle of foliage. Use your fingers to cleanly pinch off these suckers while they are small. Keeping your plant trained to one or two main stems ensures that solar energy and nutrients are channeled directly into sizing up your tomatoes.
2. The Feeding Schedule
Tomatoes need different nutrients at different stages of their life cycle:
- Early Growth Stage: Use an organic fertilizer higher in Nitrogen to help the plant establish strong green leaves and a thick trunk.
- Flowering & Fruiting Stage: Once you see the first yellow blossoms appear, switch to a fertilizer lower in nitrogen and much higher in Phosphorus and Potassium (such as a 5-10-10 blend). Too much nitrogen late in the season will give you a beautiful, giant green bush with absolutely zero tomatoes on it!
Phase 6: Common Troubleshooting, Pests, and Diseases
Even with perfect care, nature will occasionally throw challenges your way. Here is how to identify and quickly solve the most common tomato issues.
| Symptom | Primary Cause | Simple Solution |
|---|---|---|
| Black, leathery bottoms on fruit | Blossom End Rot (Calcium Deficiency) | Maintain consistent soil moisture; add bone meal or gypsum. |
| Yellowing lower leaves with black spots | Early Blight (Fungal Disease) | Prune lower leaves to improve airflow; apply organic copper fungicide. |
| Massive holes chewed in leaves | Tomato Hornworm (Pest) | Hand-pick the large green caterpillars off the plant; look for dark droppings. |
| Fruit splitting open horizontally | Sudden excess water | Harvest ripe tomatoes immediately before a heavy, torrential rainstorm. |
Frequently Asked Questions (FAQs)
Q1: Why are my tomato flowers falling off without producing fruit?
This is known as blossom drop. It usually happens due to temperature extremes. If daytime temperatures soar above 32°C or night temperatures drop below 13°C, the pollen becomes non-viable, causing the flowers to drop. Keep the plants well-watered and wait for the weather to stabilize; new blossoms will set fruit normally.
Q2: How do I know exactly when a tomato is ready to harvest?
For the absolute best flavor, harvest your tomatoes when they are fully colored but still slightly firm to a gentle squeeze. However, if birds or pests are a major issue in your area, you can harvest them at the “breaker stage”—when the tomato is about 50% colored. They will finish ripening perfectly on your kitchen counter without losing any flavor or nutrition.
Q3: Can I grow high-yield tomatoes in pots or containers?
Absolutely! If you are limited to a balcony or patio, choose a determinate bush variety or a cherry tomato. Ensure your container is large—at least 5 to 7 gallons per plant—and has excellent drainage holes at the bottom.
Q4: How often should I fertilize my tomato plants?
In standard garden beds, feeding your plants every 3 to 4 weeks with a balanced organic fertilizer is sufficient. If you are growing your tomatoes in containers, the nutrients wash out much faster due to frequent watering, so you should feed them a diluted liquid organic fertilizer every 2 weeks.
Conclusion
Cultivating high-yield, premium-quality tomatoes is one of the most satisfying experiences a gardener can have. By carefully choosing your variety, planting your seedlings incredibly deep to maximize root growth, maintaining a steady and regular watering schedule, and pruning away wasteful suckers, you set your garden up for an absolute explosion of fresh fruit.
Gardening is a journey of patience, observation, and continuous learning. Don’t be discouraged by a few yellow leaves or a persistent pest—simply treat your plants with care, follow these foundational steps, and enjoy the incredible abundance of your homegrown harvest!